Standards
Standards
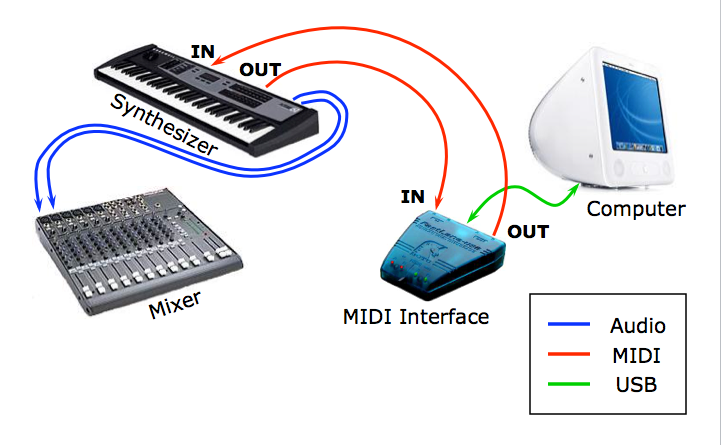
MIDI, short for Musical Instrument Digital Interface, is a tech term for a standard that lets electronic instruments and computers talk to each other. It's like a common language for devices to make music together.

Standards like MIDI are important because they help different gadgets and services work together smoothly. Here are a few other examples of standards:
USB (Universal Serial Bus): It’s like the universal plug that connects things like your keyboard, mouse, or flash drive to your computer.
HTTP (Hypertext Transfer Protocol): This one's all about the internet – it's the set of rules that allows websites to send information to your browser.
JPEG: This is a way to make pictures smaller in size so they're easy to share and store, all without losing too much quality.
PDF (Portable Document Format): A format that keeps documents looking the same no matter what device you’re using to view them.
ISO 9000: These are guidelines to help companies make sure their products are top-notch and customers get what they expect.

RFCs (Request for Comments) are like instruction manuals published by internet experts. They lay out the specifics on how parts of the internet should work, detailing everything from new ideas to agreed-upon standards.
By setting these kinds of standards, we ensure that different machines and systems can understand each other, making our tech lives a lot easier.
How we set it up
Required Components:
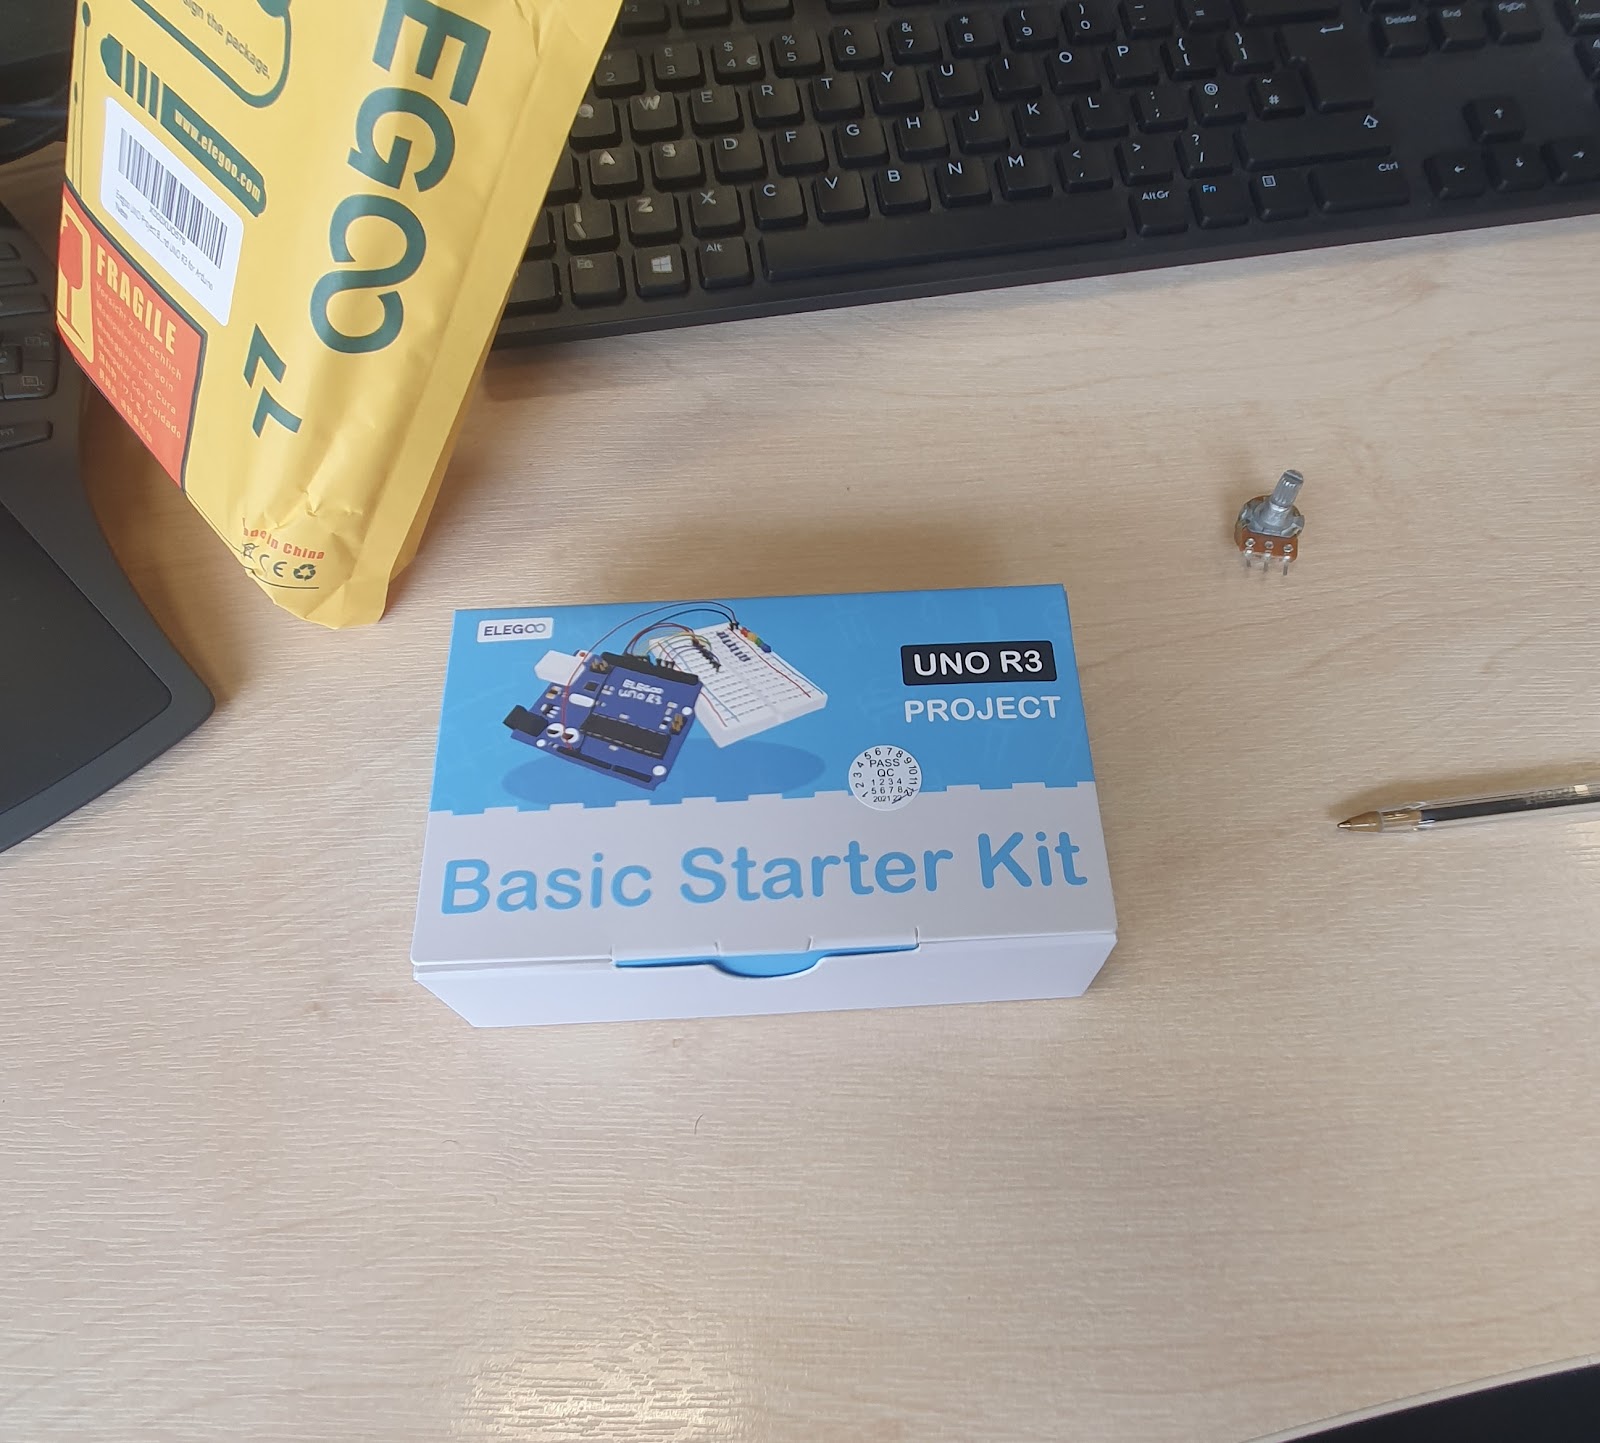
- Arduino Uno: The central unit for our musical creation.
- USB Lead: This cable connects the Arduino Uno to computer.
- LDR (Light Dependent Resistor): It acts as a sensor to modulate music based on lighting conditions.
- Switch: To toggle our setup on and off.
- 10k Resistor: For circuit safety and integrity.
- MIDI to USB Interface: This bridges our Uno with the computer to communicate in MIDI language.
Step-by-Step Setup:
Connecting the Arduino Uno: Take the USB lead and connect your Arduino Uno to your computer.
Software Setup: On your computer, launch the Arduino software and ensure you've selected the right serial port and Arduino board in the 'Tools' menu.
Uploading the Code: Don't connect your MIDI interface just yet. First, navigate through the software to
File > Examples > 04.Communication > Midiand upload the given example to your Arduino Uno.Configuring Synth Edit: With the Arduino set up, it's time to move to Synth Edit.
- Kick things off by starting a new project file.
- Get creative by adding your desired modules into Synth Edit to assemble your synth.
- Fine-tune the setup by accessing 'Preferences', then under 'Audio and MIDI' settings, select 'usb2.0-midi' for your MIDI inputs and outputs.


Footnote
https://cecm.indiana.edu/361/images/midi-simple-setup.png

Comments
Post a Comment